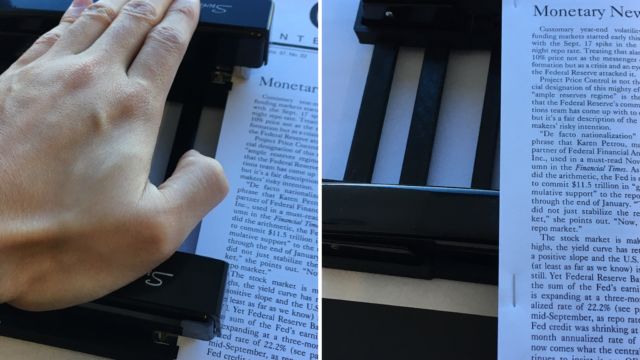
TL;DR: I designed and printed a booklet maker for a friend.
Instead of completing the Inktober challenge I spent the month of October designing and printing gifts for friends… and I spent November writing about them, haha. I posted about a Darth Vader dice tower here, an Ironman figurine here, and the third project I completed is this booklet maker.
My friend Will reached out for help solving a specific problem: he likes to staple papers into booklets, but needed a way to make them more easily and consistently. We went back and forth with some requirements (number of sheets at a time, staple placement, etc.), he drop shipped a stapler to me, and I started designing.
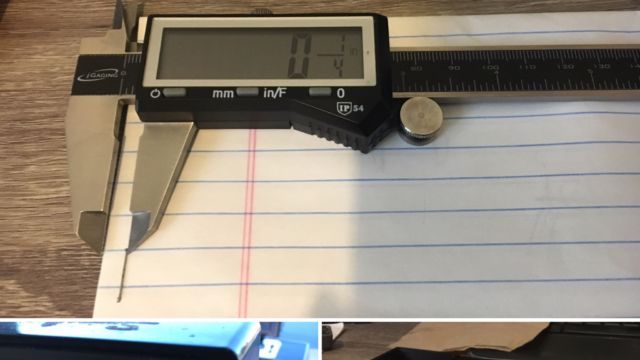
I began by modeling the classic Swingline 747 stapler from caliper measurements. I needed an accurate stapler model to ensure a good fit for whatever 3D printed part I would ultimately design. Capturing the draft of the side and determining the clearance available during stapler actuation was of paramount importance, so I created the stapler in two components and added movable mates.

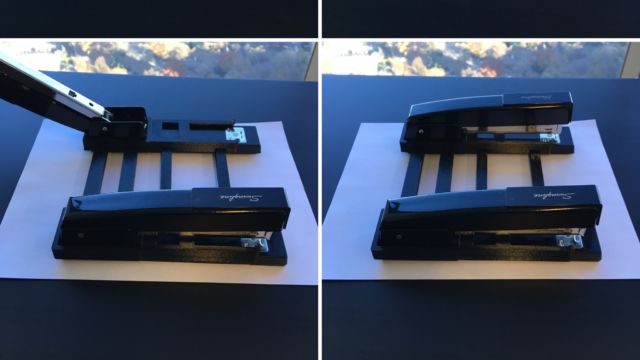
For this project there were advantages to taking a top-down design approach. In a new part model, I created a layout sketch to place the staplers per the desired specifications 6 inches apart on a line ¼ inch away from the left margin.
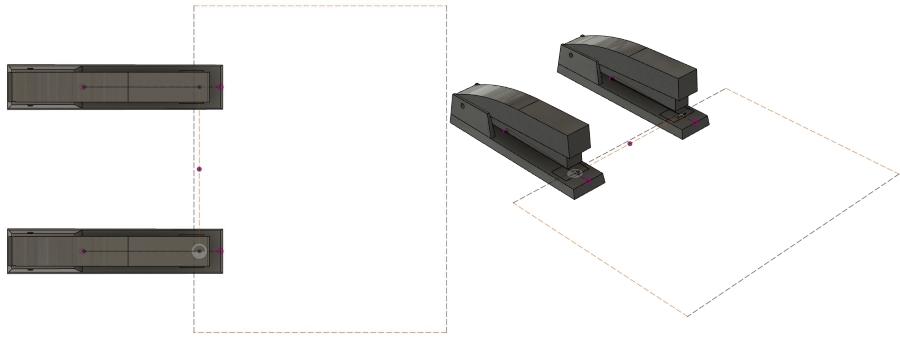
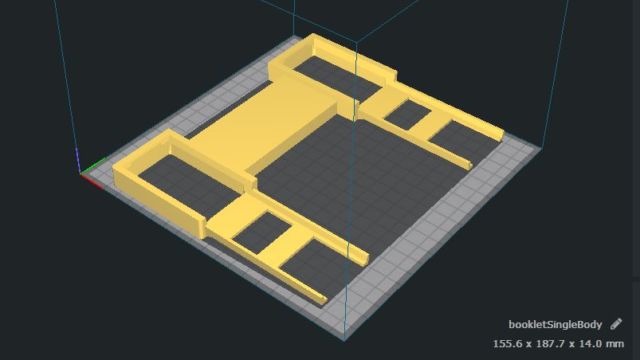
With the staplers fixed in place, I focused my attention on the design of the main paper retention body. The trickiest part of the design was creating an attachment method that keeps a clear path for the stapler head to reach the crimp area.
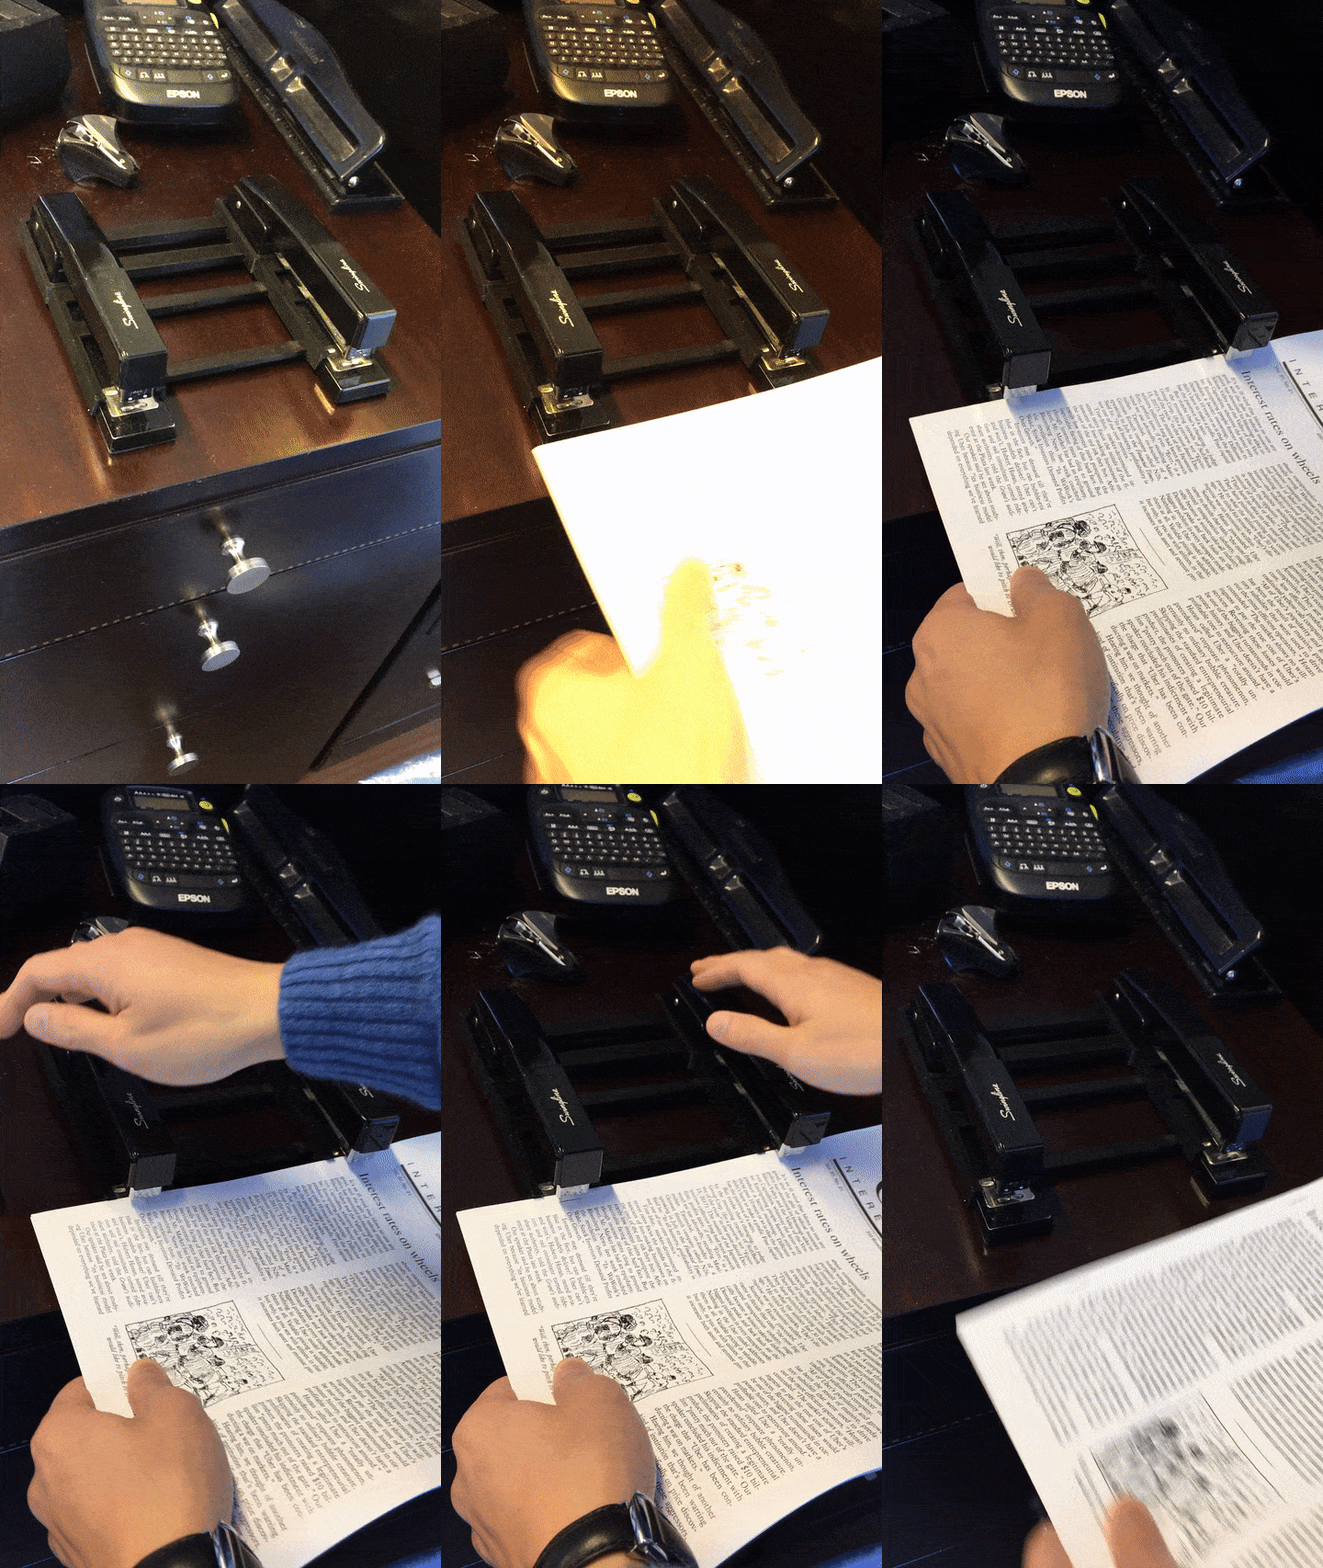
After completing a test print to check the fit, I made a few adjustments to the paper backstop height, mirrored the body and connected the two halves with beam extrusions. Pictures speak louder than words, so here’s the build gallery:
Will tells me he’s very happy with the results, and I couldn’t be happier myself.
