Designing The Wedding – Part 6

It’s hard to believe it’s already been over six whole months since our wedding, and I haven’t finished this series yet 😅… The holidays have been a bit busier than I expected with my Etsy shop despite relatively little input effort. The post today will be relatively brief, quickly covering everything on our tables sans the centerpieces themselves: the party favors, table numbers, escort cards, and our cake topper, and a bonus faux neon sign.

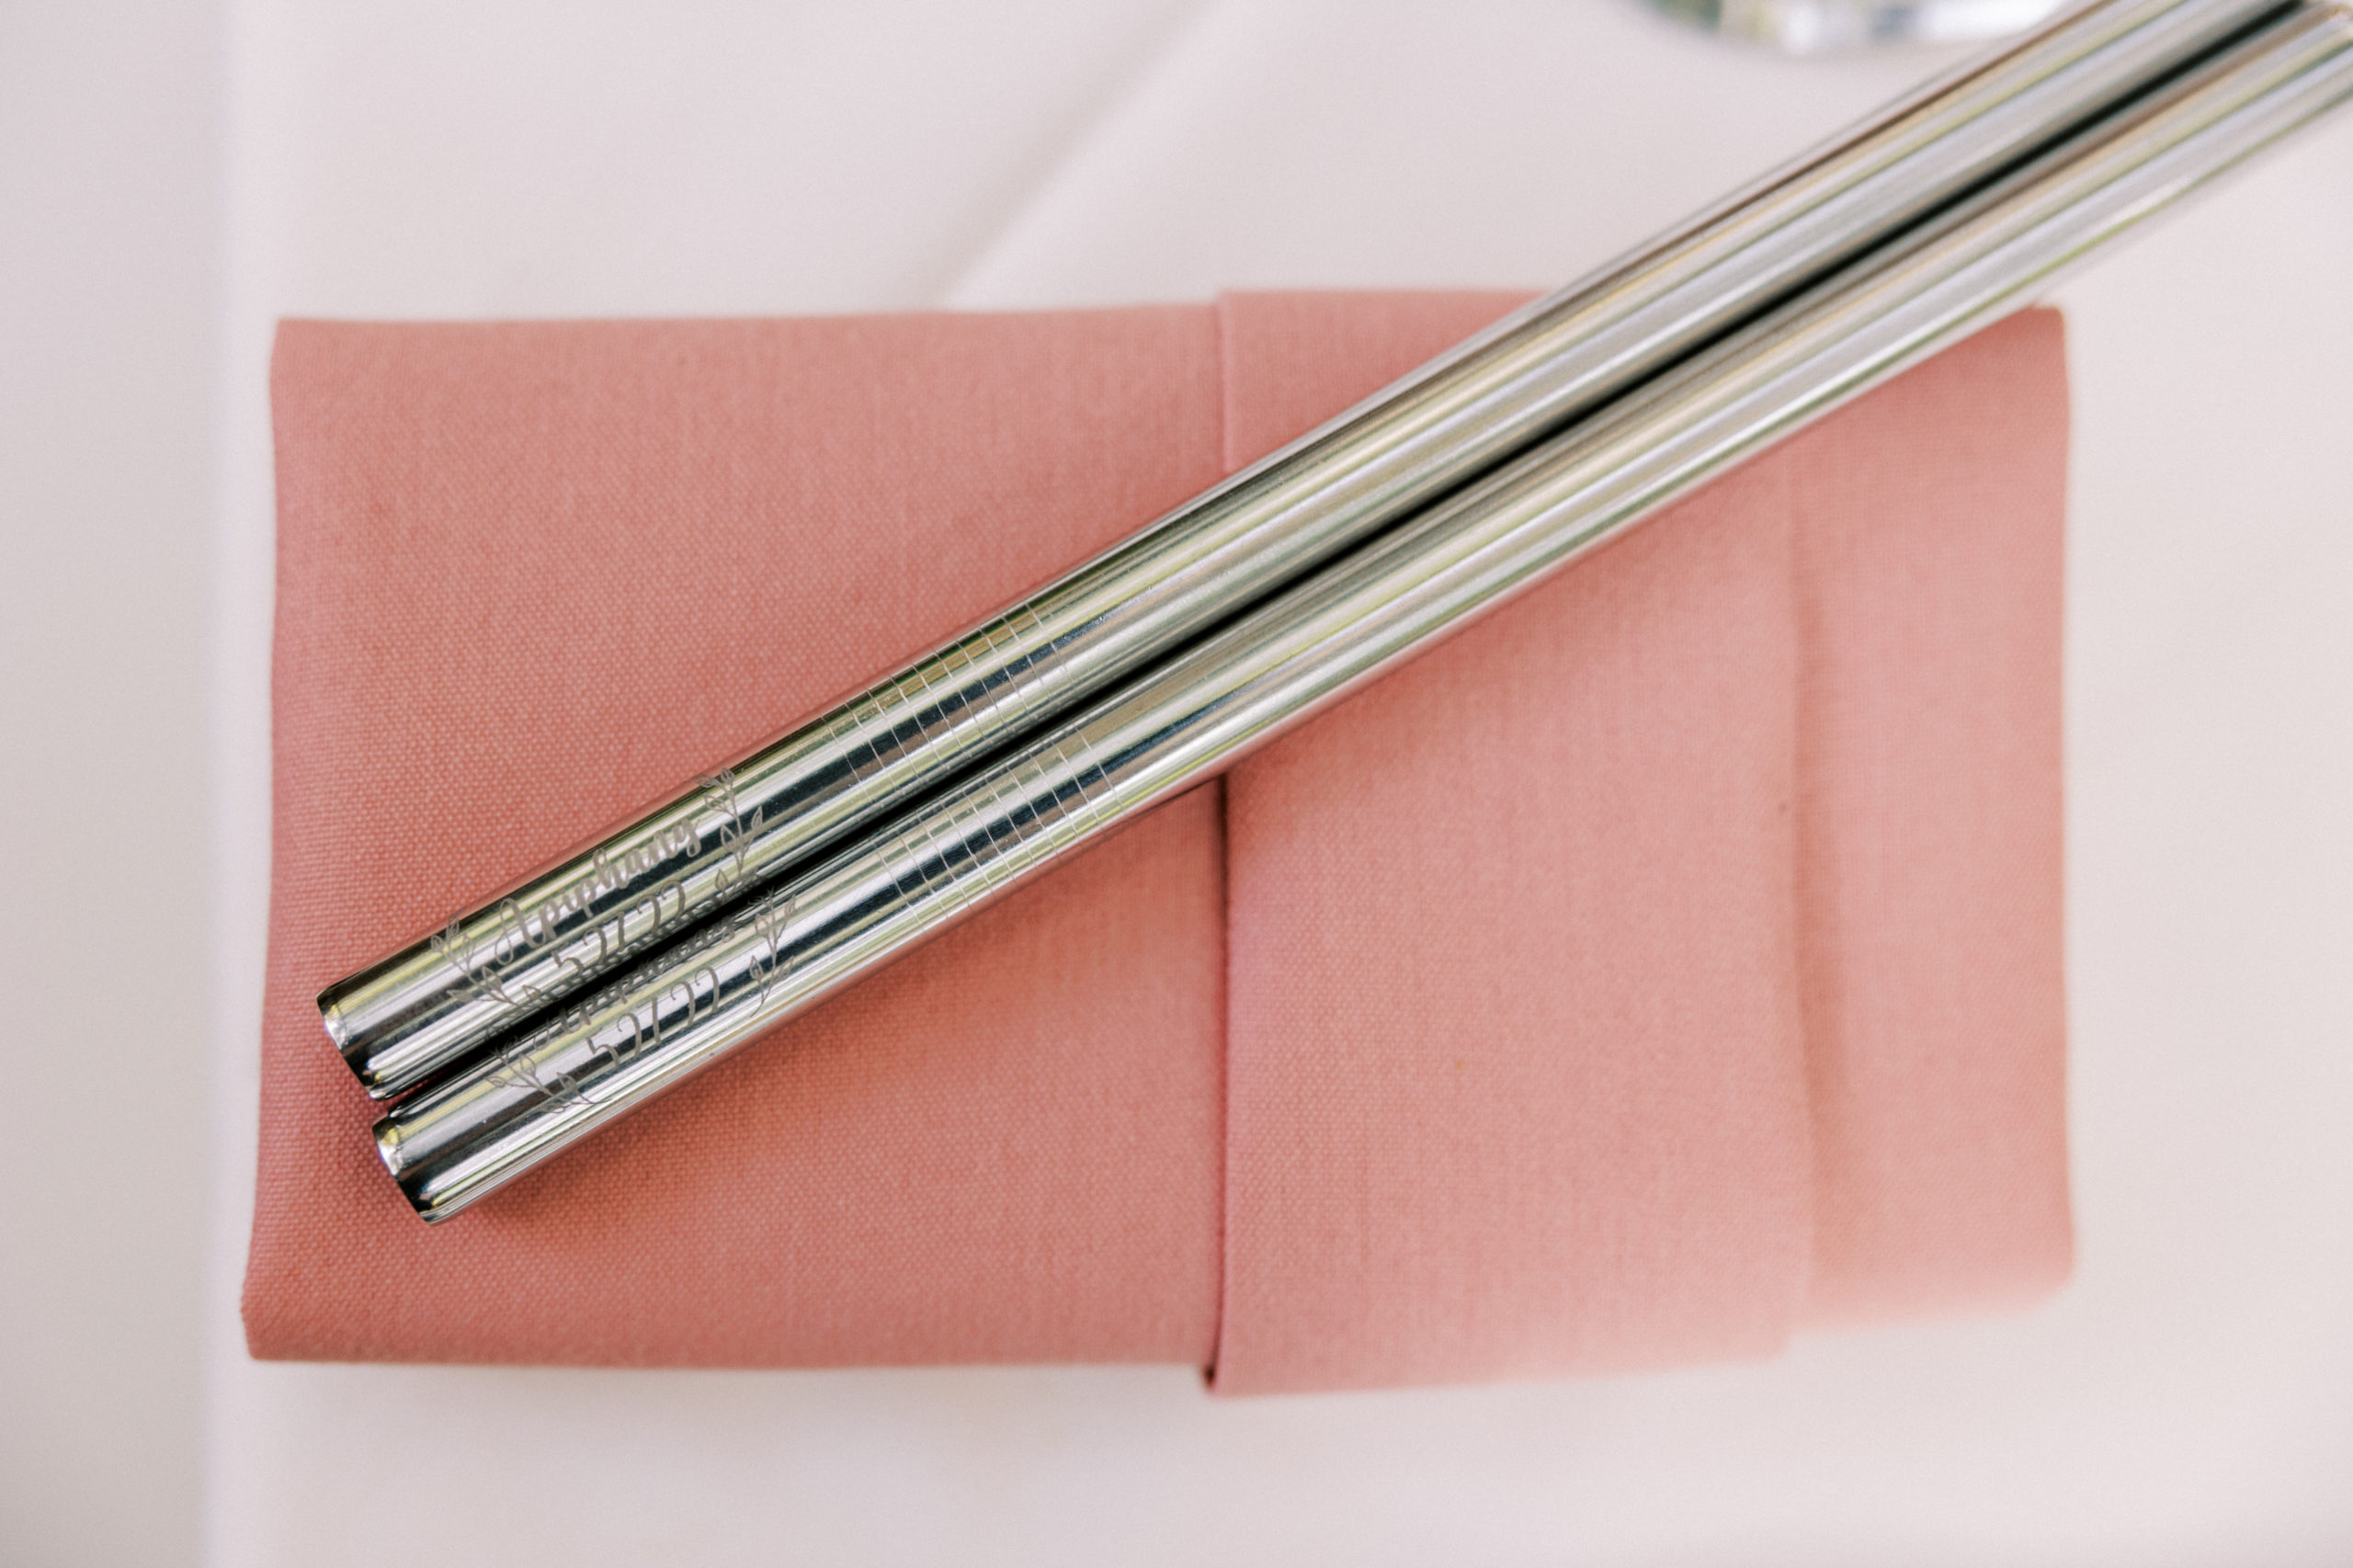
We definitely took advantage of the fact that Tiff’s dad owns both fiber and CO2 lasers. The fiber laser even has a rotary tool–perfect for our party favors: engraved boba straws. Creating the wedding logo in vector format made scaling down  trivial. After engraving, the straws were polished, then stuffed into muslin bags (which were surprisingly difficult to source). 

Engraving on metal like this requires a fiber laser and rotary tool for best results

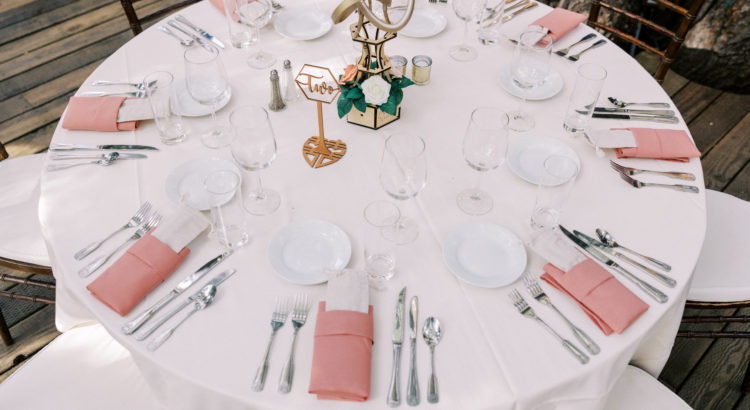
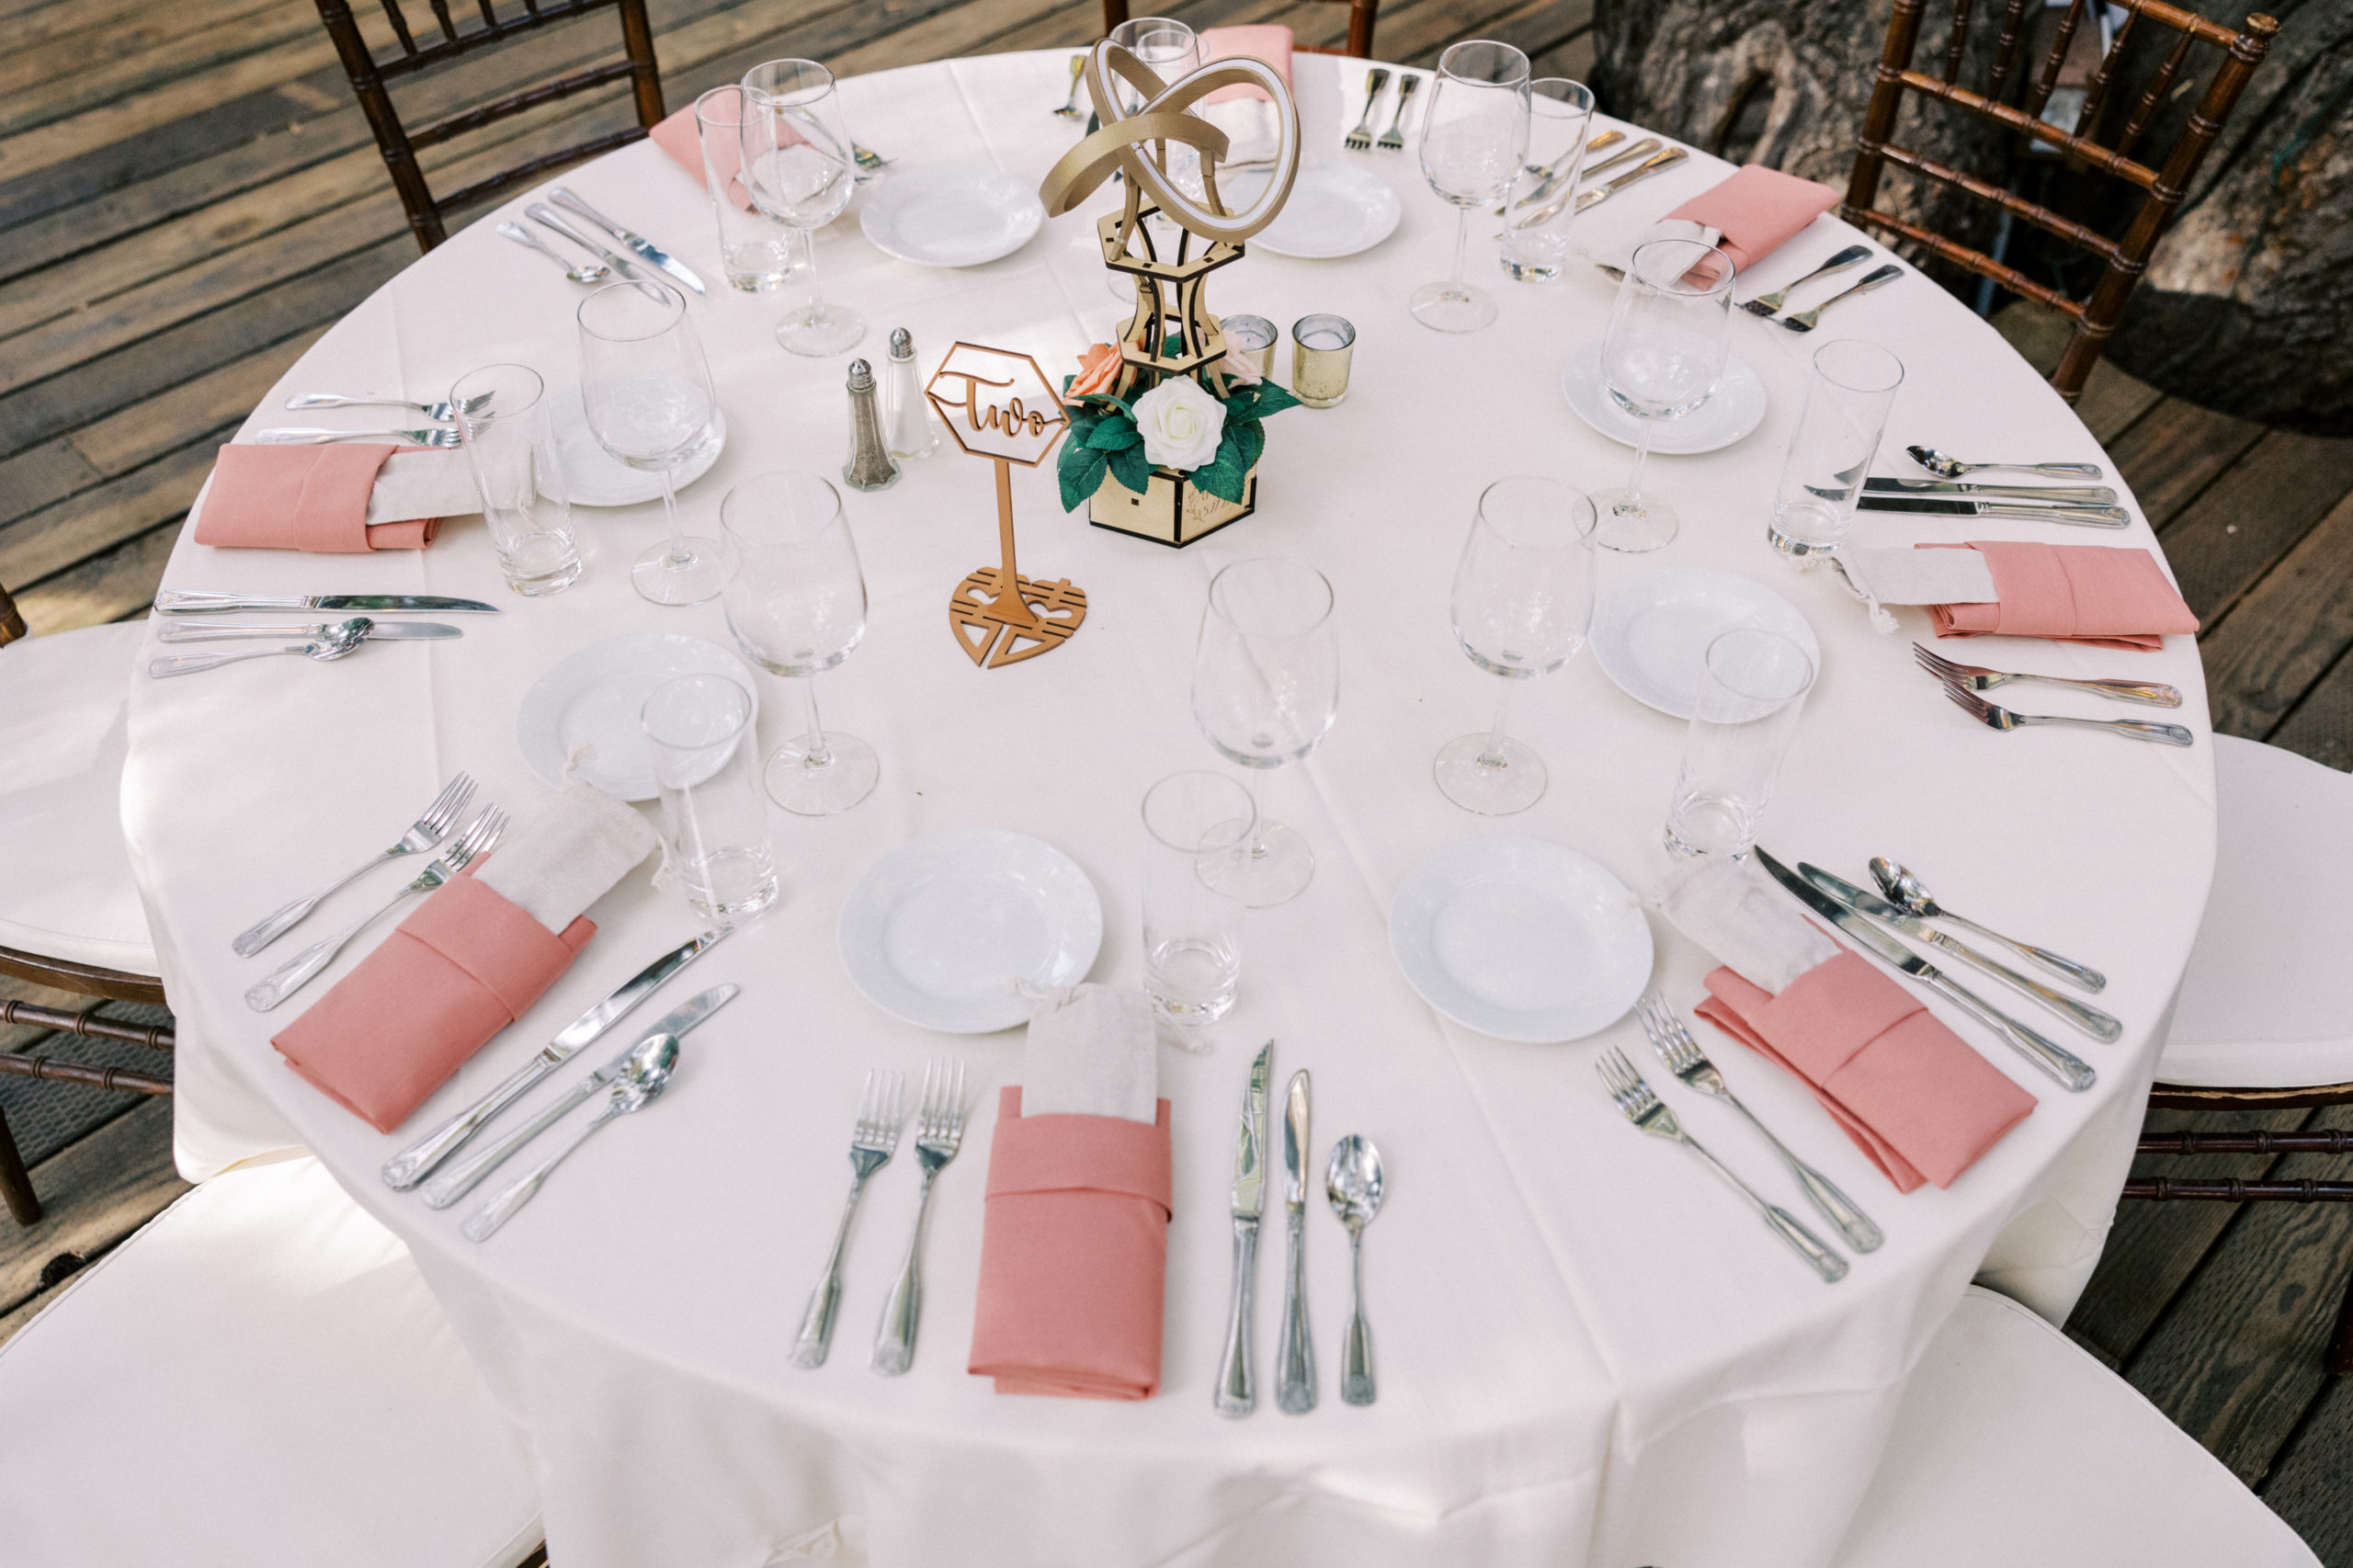
I’m a bit biased, but I REALLY like the design I created for our table numbers. The signs are very ABC (American Born Chinese), using a “weddingfied” double happiness symbol for the base. After the signs were laser cut, Tiff spray painted them to match our wedding colors a bit more closely. While we only ended up having nine tables at our wedding, I created designs for the numbers up to twenty for Tiff’s dad to productize on his Etsy store. There’s multiple ways these could be personalized, from engraving initials, names, dates, or images into the stems, to changing the shape of the standing number, to changing fonts, numerals, etc. Frankly, I think this is the single most marketable item I created for our wedding. 

These simply scream Asian-American wedding to me

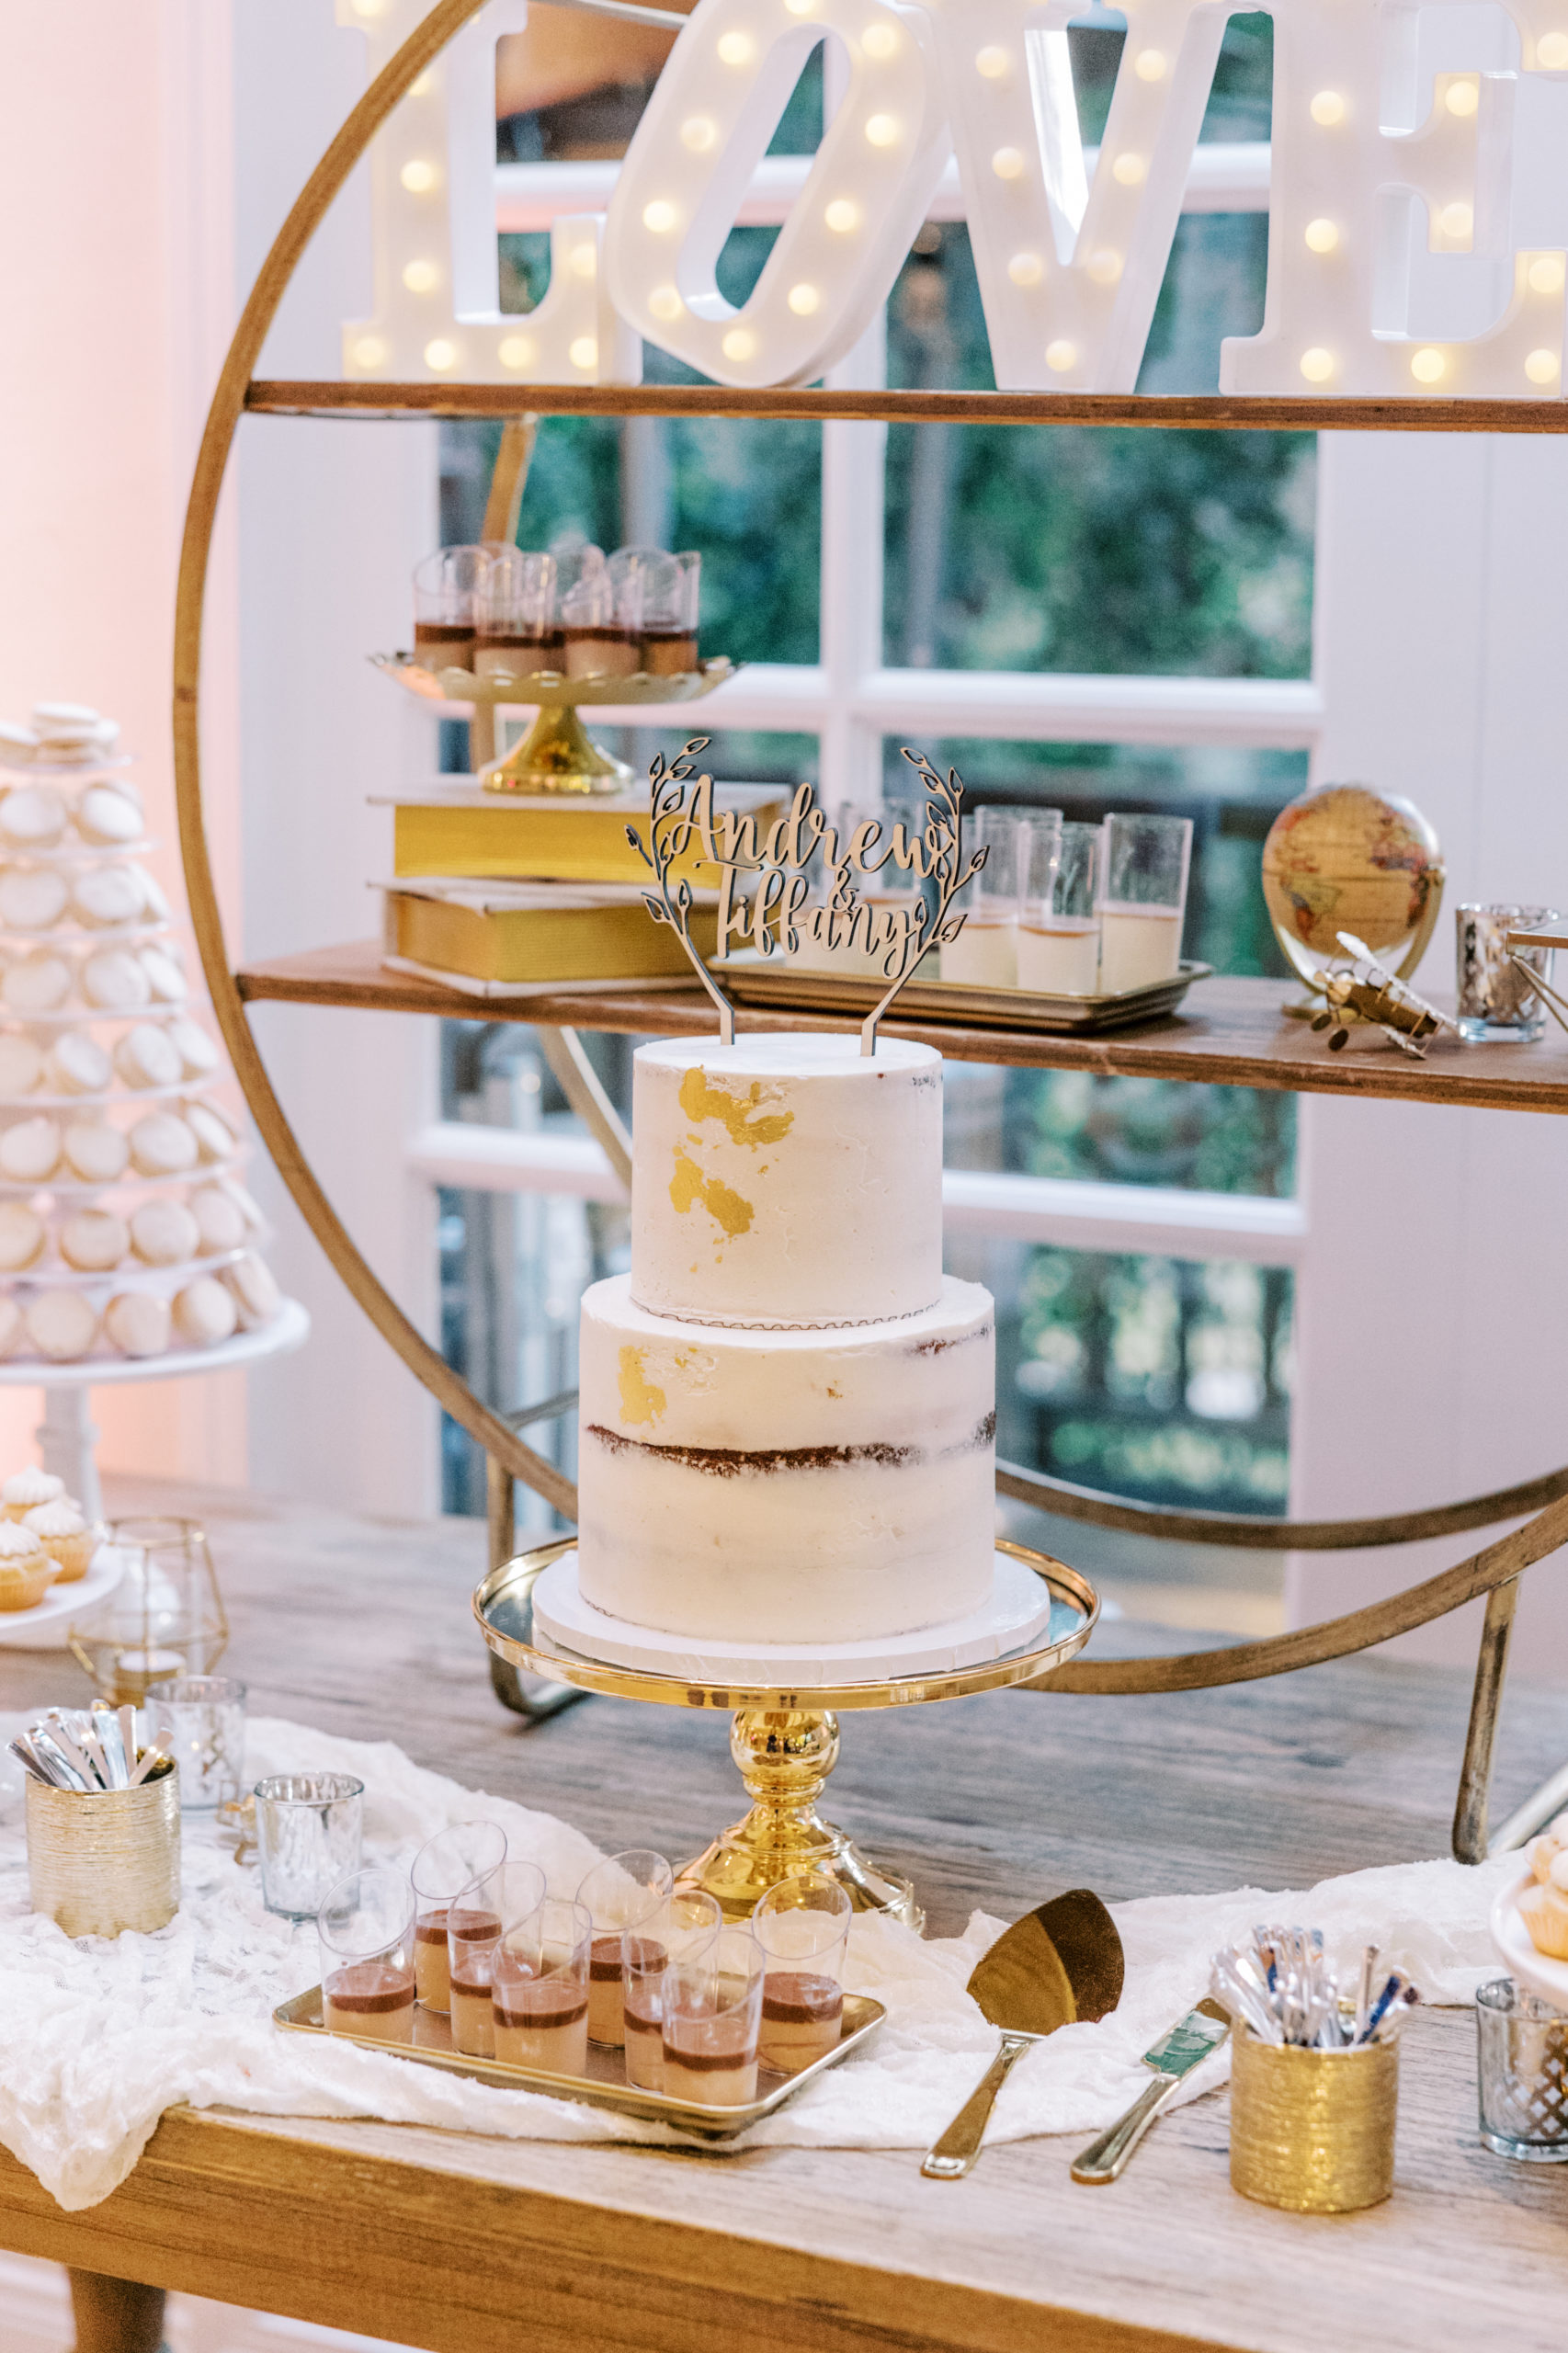
Our cake topper was also made using a laser cutter–nothing super fancy, just our names along with some laurels. It turned out well: 

The topper design went well with the cake’s color scheme

My incredibly generous groomsmen gifted me an Ortur diode laser as an early wedding gift, which proved to be instrumental for creating the escort cards which listed everybody’s names and clearly illustrated their food choice. I really wanted the escorts to be unique and playful–I had a lot of fun designing them. 

I created a Word template in which I loaded everybody’s names and table assignment information. Next, I used my regular laser printer to print the filled templates out on card stock. Finally, I created an alignment fixture on the diode laser table to cut out the cards six at a time with each guest’s food symbol. Getting the fixture right took a bit of trial and error, but mass production was relatively quick once my system was implemented. A big learning for me was how sensitive the laser power was to the slightly different shades of pink–the lighter colors required more power than the darker ones. In hindsight, it’s obvious since the diode uses visible wavelengths and lighter colors reflect more of the energy. 

Unfortunately the cow card isn’t pictured (my personal favorite design)

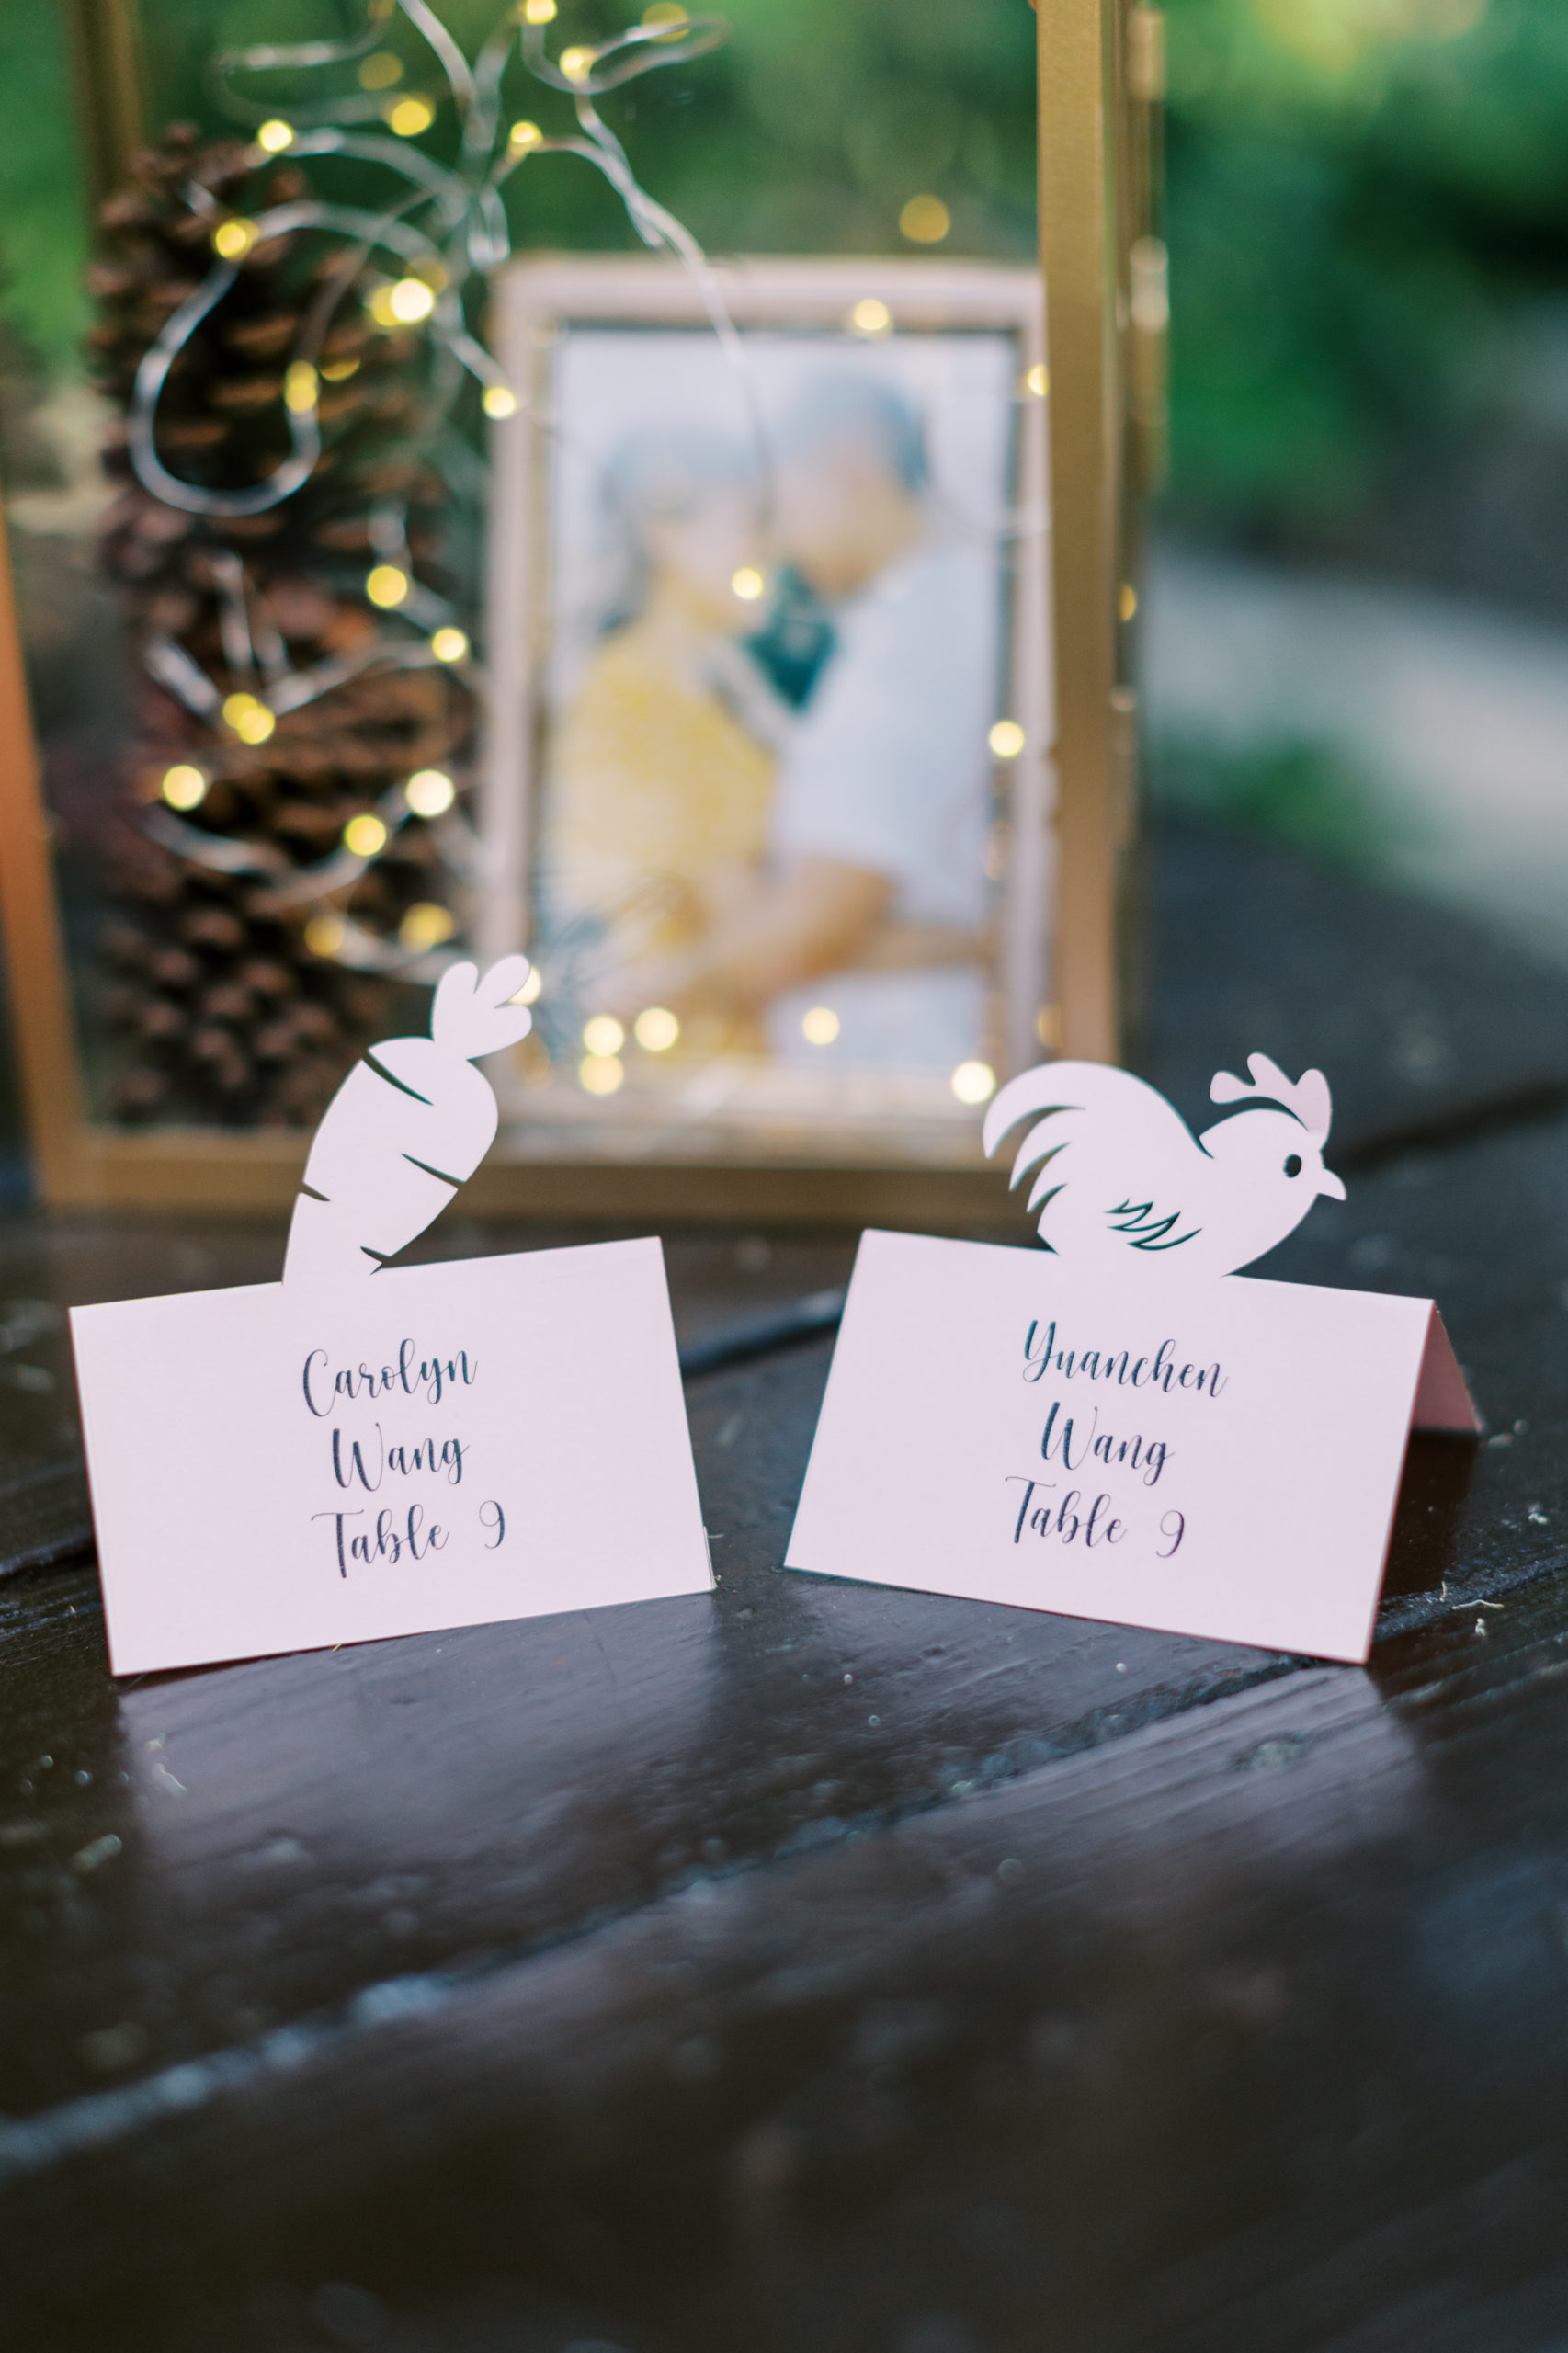
I think these escort cards are the second most marketable item I created, although I also learned the meaning of the symbols initially eluded some of my guests:

Guest A: “Hmm… what do these symbols on these cards mean?”

Guest B: “Oh! I think I know–it must be the Chinese zodiac–year of the cow and year of the chicken!! Maybe those are when they were born?”

Guest A: “What’s the year of the carrot!??”

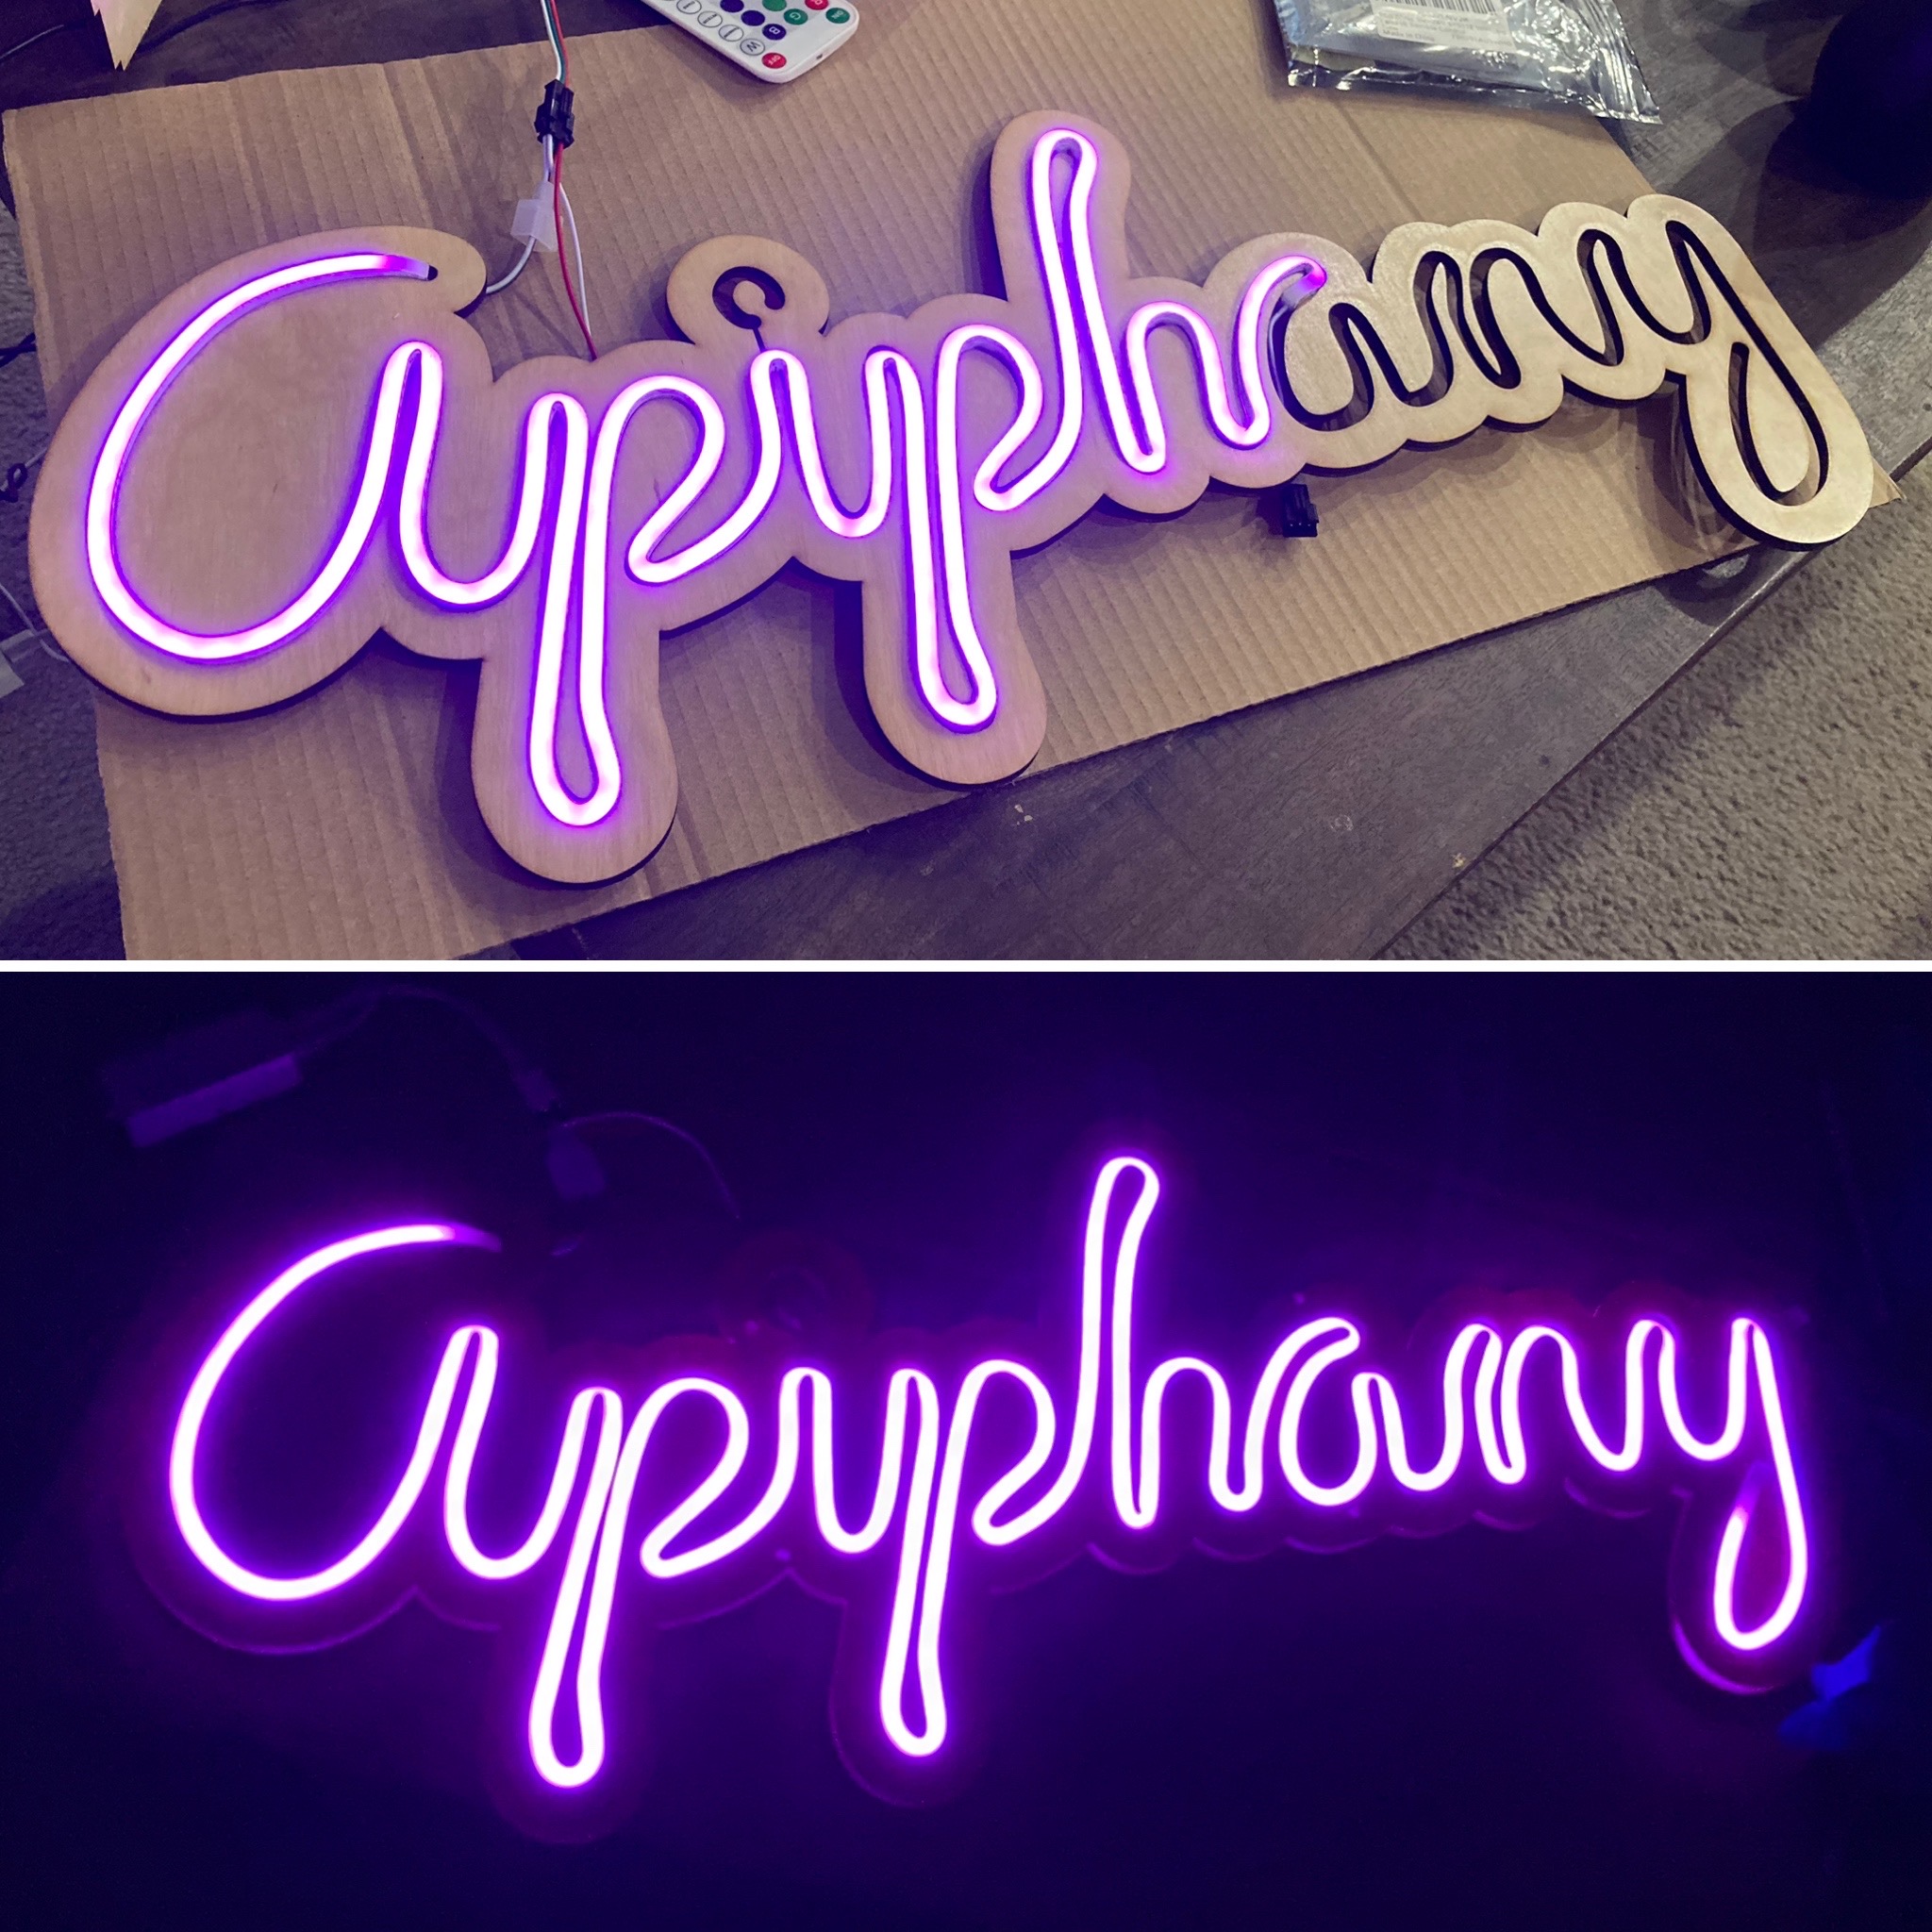
A fairly common wedding fad which has popped up recently is having a faux neon sign created. I learned how much people were paying for having them made, and I laughed. I wanted ours to use individually addressable RGB LEDs, so we wouldn’t be bound to a single color (also so I could hang it up in my workshop after the wedding), so I rolled my own in a few basic steps:

  1. I wrote “Apiphany” in cursive as a drawing on my iPad
  2. I translated this drawing into a vector file
  3. I prototyped my design in cardboard to ensure the bends were not too harsh on the LED strip
  4. I installed the light strip into an acrylic version and attached a controller
Please excuse my prototyping mess…

At the wedding, our brilliant wedding planning team brought along clear fishing line to invisibly hang the sign up:

I believe my next post will be the last one in this series–the only component I have left to talk about is the centerpieces. Hopefully I’ll get to that in a matter of weeks, rather than the months this one took ;). Thanks for sticking with me through these ramblings! 

Designing The Wedding – Part 4

Alright, with writing about process and tools done, I’m finally onto the physical builds! We made an above average number of items so not everything fits in a single post. I will be the first to admit that the most exciting part of wedding planning for me was the DIY project part. It’s in my nature to make, so I’m glad that Tiff was on board with everything, even pitching in and toiling away on several projects. While we didn’t make every single item from scratch, we added our own personal flair, so it counts ;).

The very first piece of design work I completed for the wedding was our logo consisting of our couple name (Apiphany) and our wedding date atop two garlands. I created the design in Inkscape as a vector file for easy scaling for application in multiple places. It only took me a few iterations to win Tiffany’s final approval!

Here’s the full 17-item list of things we created for the wedding: 

  • Card box
  • Lantern boxes
  • Guest Book Box
  • Escort Cards
  • Easel Signs
  • Mini Signs
  • Mini Sign Holders
  • Favors
  • Table Numbers
  • Neon Sign
  • Centerpieces
  • Cake Topper
  • Tip Jar
  • Wedding Party Gifts
  • Boxes
  • Customized Luggage Tags
  • Customized Moleskines

This post will cover some of the items we created for our two tables for the ceremony and cocktail hour — guest book accessories, raffle box, lantern boxes, card box, mini signs, and mini-sign holders. 

One of the tables at our ceremony with everything this post covers on it

Before we started planning, I knew I wanted one of two styles of more interactive guestbook. The first type I considered was a polaroid book, and the second was a name drop. While we could have borrowed a pair of cameras, we decided against a polaroid book out of a concern of lighting and ease of use. I initially planned on creating my own name drop guestbook, so I purchased a shadowbox picture frame. However, I found a Ukrainian shop on Etsy (https://www.etsy.com/shop/WeddingByEli) who was somehow selling the guestbook (with customization) for less than the cost of materials would be for me. They worked with me going through multiple iterations of the design of the names to get it exactly perfect! I made the purchase nearly a year before Russia’s invasion, and I hope the people at the shop are doing well. The basic idea is that the guests take and sign a wooden heart and drop it into the frame which then serves as a sculpture rather than laying around as a rarely opened book. 

Our guest book and card box now proudly on display at home!

As an accessory for the guest book, I generated a hinged box design using boxes.py (https://www.festi.info/boxes.py/) to hold the blank hearts. I then added engravings of our wedding logo on the lid, and added instructions on the inside. Assembly was straightforward using translucent wood glue and plenty of clamps

I can’t take credit for the poem, it’s a common one used on multiple Etsy listings.

Unfortunately, I mixed up the length and width dimensions for the box the first time I cut it… oops. Luckily, I needed another box to hold hearts for the centerpiece raffle anyway, so nothing went to waste. I printed raffle information and instructions on cardstock then cut them out and glued it inside the lid, covering up the obsolete guestbook instructions XD. 

As you can tell, the width and depth were accidentally swapped in my first hinged box attempt. Luckily I was able to reuse it!

I re-used the boxes.py script twice to generate the basic .svg files to cut our card collection box–once for the main box itself, and one for a slotted lid. This was very easy to do since the script gives the option for entering both inner and outer dimensions. I then modified the base vector files by adding a slot in the lid and our names along with a huge amount of detail to be cut out for the front of the box. 

Box to collect cards from our guests

We borrowed lantern boxes from Tiffany’s matron of honor and reused them exactly as she did at her wedding… We stuffed them with pinecones, fairy lights, and added mini framed pictures of ourselves in them. I loved how they turned out!

We lifted these directly from YY and Stefan’s wedding, but why fix what ain’t broke?

The last thing I will cover in this post are the mini signs and copper pipe holders we created to hold them up. The design of the holder was a simple C with perpendicular stabilizers. I arrived at this configuration to maximize the four 1ft lengths of copper we purchased. The cut list I derived demonstrates the only true advantage I feel imperial units have over metric–the 12 inches in a single foot were easily divided into fairly whole numbers:

Bar 1Bar 2Bar 3Bar 4
Cut 1994.54.5
Cut 2334.54.5
Cut 333
Total Length:12121212

As a bonus, the C-shape also minimized the number of fittings needed (2x L’s, 1x T’s, 3x endcaps for each sign). Somewhat surprisingly, the most difficult part of the process was fixing the pipes into the fittings. Plugging the pipes into the fittings straight up resulted in too loose of a fit. Using teflon plumbing tape looked very ugly. What ended up working very well was carefully adding a mess of hot glue into the fitting and jamming the pipe inside before the glue hardened. I may or may not have dropped a fitting cause copper is a great conductor ;). The signs were created by printing the schedule onto cardstock and gluing on the detail pieces which were laser cut from a differently colored cardstock.

Mini copper pipe sigage

Thanks for making it this far, I’ve only covered about a third of the project list (the most basic ones at that), so there will be a few more posts in the near future! I know I’ve been a bit slow on getting these posts out, but they’re coming!